4 days before the tea I intended to wear my first ever bustle dress to and I had a short list of things that needed to be done to make the dress wearable.
The bodice needed closures and a few finishing touches on the inside
The skirt needed closures and a ruffle.
Ok, so maybe the skirt didn't *
need* a ruffle to be wearable, but it certainly wanted one. The more ruffles the better in the 1870's!
That said, I stated with the more obviously necessary bodice work before tackling the very much desired skirt ruffle.
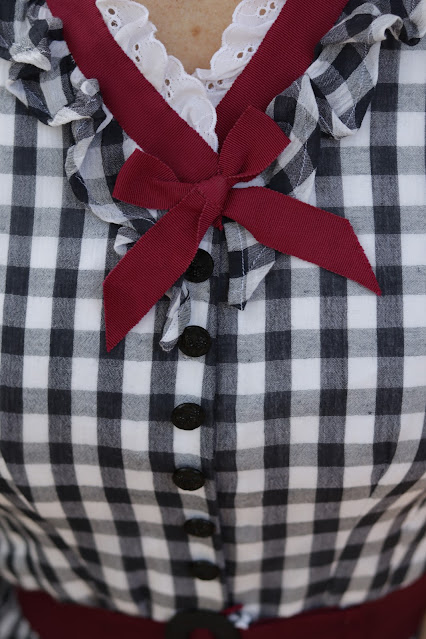
I had a couple different, absolutely beautiful, sets of vintage black glass buttons. I counted and admired them all and selected a set to go down the front of my bodice.
After careful consideration, I decided the best course of action for the integrity of the bodice and the old buttons would be to have the bodice fasten with hooks and eyes and sew the buttons over that, just for show.
For the first time ever on an entire garment, I decided to attempt to make thread eyes rather than sew on metal ones.
Once I got the hang of it, these thread eyes were actually pretty easy to make, the end result was very neat, tidy, and satisfying.
Once the hooks and eyes were on, I sewed 6 black buttons, with either a grape or a lilac motif (Which do you think it is?) down the front.
Several of the buttons had the wire shank slightly folded over on the back. The folded over shanks would actually help the buttons to lay flatter down the front of the bodice, since they wouldn't be going through buttonholes Thus, I folded over the remaining shanks to match.
The final step on the bodice was to finish off the inside with a twill tape waist tape.
All the seams on interlined portion of the bodice and on the underskirt are finished with the serger. 2 weeks to complete a bustle dress doesn't allow time for more historically accurate finishes. Functional, to keep this gauzy material from unraveling, was more important than "accurate". The seams in the overskirt portion of the bodice are finished with french seams.
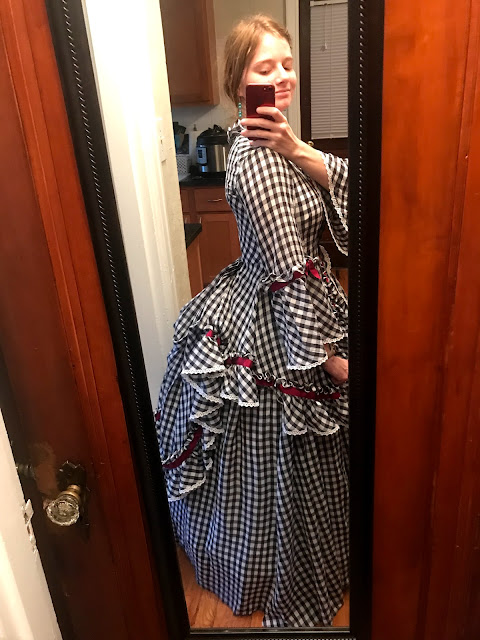
There's boning (in the form of heavy duty zip-ties) at the side seams. The overskirt drapery is held up with buttons on the seams and twill tape attached at the waist.
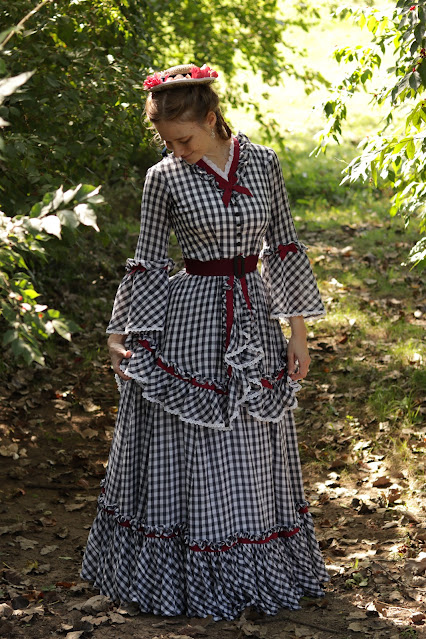
With the bodice finished, all that was left was the underskirt ruffle and closures.
The day before the tea I gathered and attached the ruffle. The morning of the tea I sewed hooks and eyes (metal this time, because I was out of time) to the skirt waistband.
And with that, my very first bustle dress was done!!
I was ready for tea.
Followed by a trip to the History Museum.
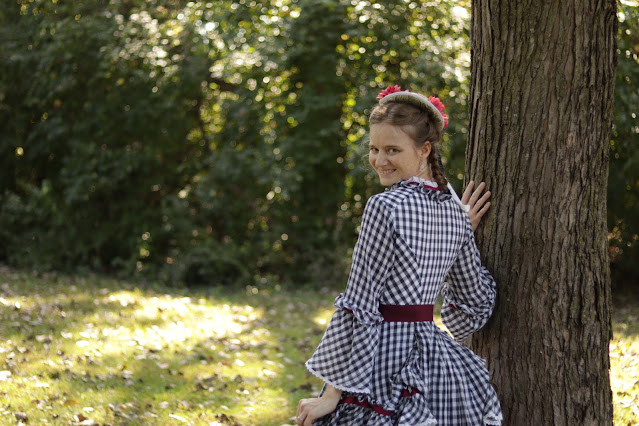
This dress was delightfully fun to wear!
All ruffley and bustley!
It was just the thing for a late July tea and museum trip. . .
And a couple other summer outings later on. . .


