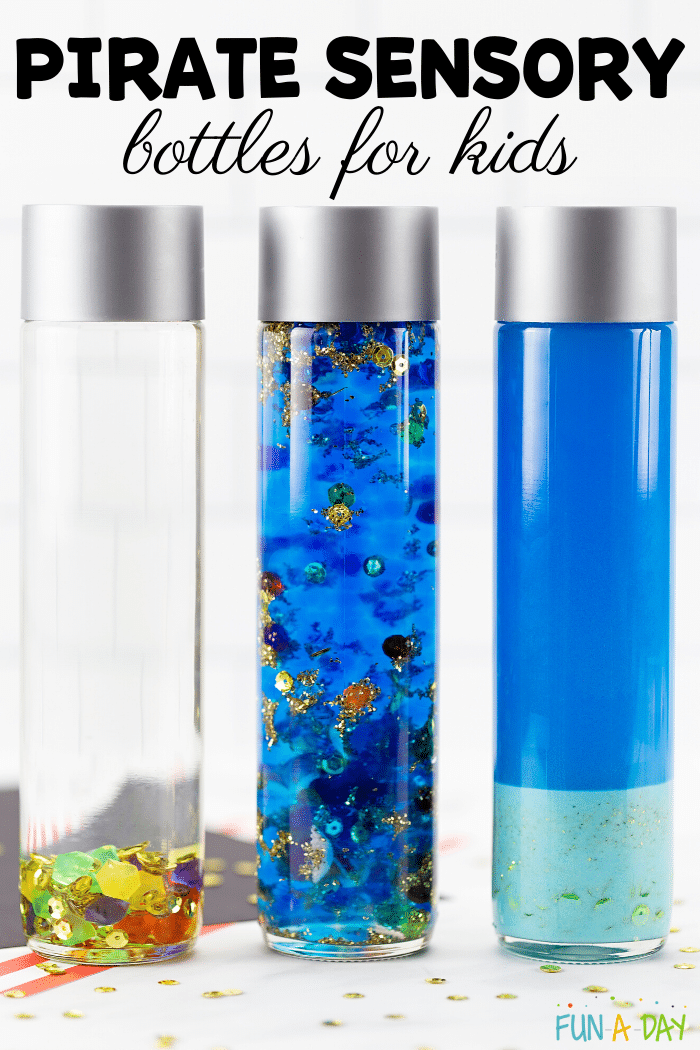
Read below about three ideas for making a pirate sensory bottle with kids. These bottles are perfect for a preschool pirate theme or a summer camp.
Related: Children’s Books about Pirates
These “sunken treasure” discovery bottles were first made when my son was still in preschool.
We put them together during a pirate-themed summer camp and they were VERY well-received.
At first, we only made two types of the pirate sensory bottle. Over the years since, we added a third variation.
No matter which of the treasure bottles you choose, I’m sure the kids are going to love them!
Take a look at them in action:
How to Make A Pirate Sensory Bottle
As mentioned above, we made multiple versions of these pirate-y discovery bottles.
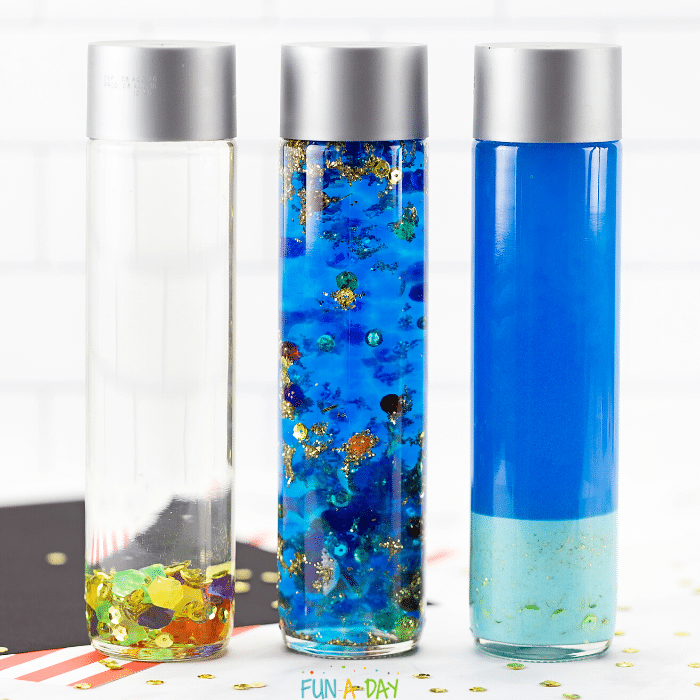
You’ll find directions for the sandy sunken treasure bottle, a sparkly water bead bottle, and a floating gems bottle.
Pirate Sensory Bottle Materials
Here’s a list of all of the items we used for our pirate treasure bottles.
If you end up making just one of the bottles, adjust your materials list accordingly!
- Craft sand
- Gold glitter
- Beads
- Gold sequins
- Tiny craft shells
- Blue water beads (in their original, tiny state)
- Clear glue
- Small acrylic jewels
- Empty plastic bottles
We’ve used clean, empty water bottles of all types for these discovery bottles. I like the smooth-sided bottles the best, as it’s easier to see inside!
Sunken Treasure Pirate Sensory Bottle
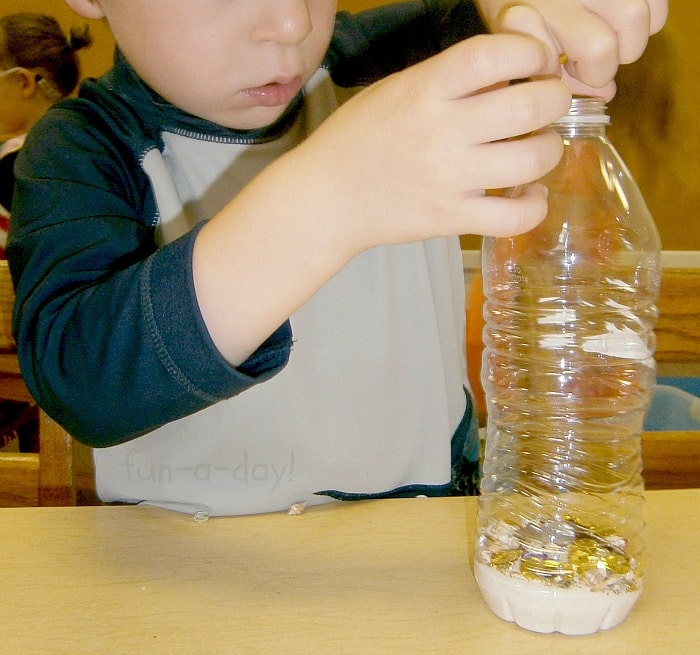
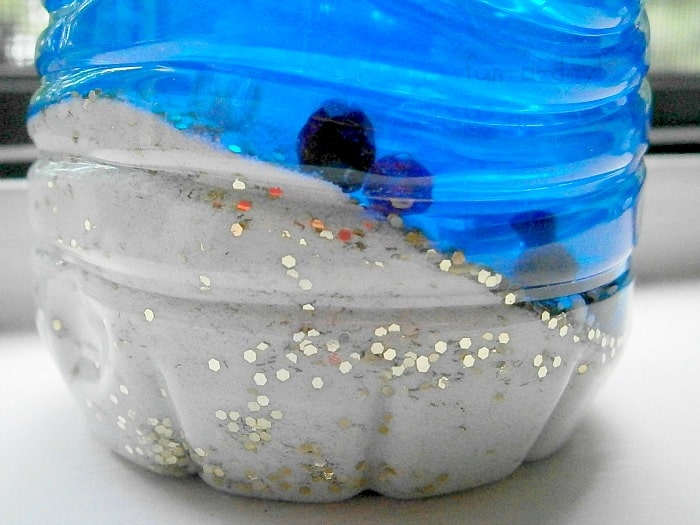
First, have the children use funnels to add sand to plastic bottles. The kids can help measure the sand beforehand, or you can just let them add their preferred amount.
Next, have the children add the rest of their “treasure” to the bottles. I had my son and my students use their fingers to add beads, gems, tiny shells, and sequins. It was a great fine motor exercise for them, and they enjoyed adding just the right amount of pirate booty to the bottles.
Related: Pirate Science with Fizzing Treasure Boxes
After that, the children can sprinkle in some glitter. I recommend using a small funnel for this too. That way, the glitter ends up in the bottles and not all over the table.
I loved seeing the intense looks on the kids’ faces during this process. Some kids added more shells, some went a little wild with the glitter, and others hoarded the “jewels” (aka beads).
Finally, help the children add water to the bottles, and be sure to leave a little bit of space at the top. If the children want, add some blue food coloring to the water too.
Related: Sensory Activities for a Pirate Theme
Then it’s time to add the tops to each pirate sensory bottle. I suggest using a hot glue gun to secure the top, especially if smaller children might play with the discovery bottles.
This first version of our pirate discovery bottle showed the kiddos what happens to wet sand. It also illustrated floating and sinking concepts.
Many of them enjoyed rolling the bottles side to side, watching the sand and treasure move.
Water Bead Pirate Discovery Bottle
The next type of pirate sensory bottle is all about the water beads.
These came about because my son and I wanted something other than blue-tinted water to act as the ocean. As my son said, “So we can see the treasure better!”
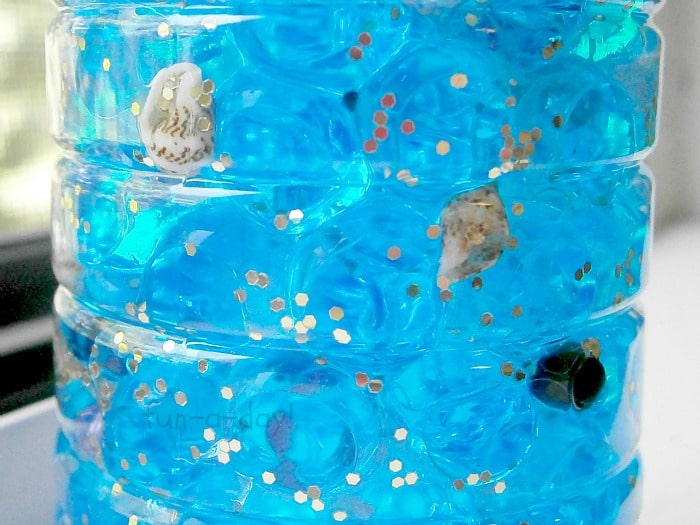
Start off by adding blue water beads (in their original, dried, tiny state) to an empty bottle. Pour in some water for the beads to absorb.
You can then add some gold glitter, mini craft shells, and beads/gems. If you prefer, you can wait until the water beads have expanded a bit before adding all of the “treasure.”
Once you’re happy with how these pirate bottles turn out, it’s time to put the lid on an close it up. Again, I’d suggest using a hot glue gun to secure the top, especially for the little ones.
We really liked having the water bead bottles up in the window. The water beads, as well as all of our bling, were beautiful in the sunlight.
I liked the second version the best. The color was brighter, and we were able to see all of our treasures clearly. On top of that, it made a really fun sound when we shook it! The movement of this bottle was obviously different that the first.
The kids and I compared and contrasted the movements, the colors, and the sounds of the sensory bottles. I liked them comment on all of the differences and similarities.
Related: Rainbow Glitter Sensory Jars
Floating Treasure Bottle
The final pirate sensory bottle is focused in on just the treasure!
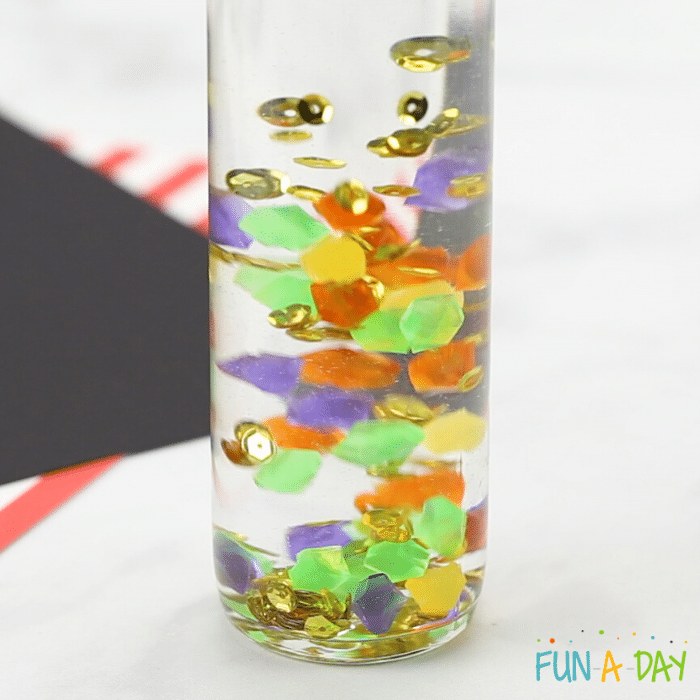
First, have the children add about half a cup of clear glue to an empty bottle. Then help them add in water to full the bottle about 3/4 of the way to the top.
After that, have the children add acrylic jewels, craft gems, and/or faceted beads to an empty bottle. They can add glitter, too, if they want to.
Then put the lid on the discovery bottle and give it a good shake. Observe as the treasure makes its way down. If you want to make the treasure’s descent a bit slower, add more clear glue.
Once you’re happy with this pirate treasure bottle, put the top on it. As I mentioned before, be sure to seal the bottle shut.
Over the years, we’ve made each version of the pirate sensory bottle more than once. They’ve sat in windows, been rolled around on the floor by babies and toddlers, been shaken and observed by preschoolers, and basically enabled a lot of pirate-themed play both at home and in the classroom.
It’s always fun to find something like this that fascinates kids from 1 to 6 (and beyond!), don’t you think?
Would your little pirates enjoy making a pirate sensory bottle? If you make some, be sure to comment below about how the kids enjoyed them!
Preschool Pirate Lesson Plans
Save time and get right to the pirate-y fun with done-for-you lesson plans from Preschool Teacher 101. The preschool pirate-themed lesson plans have printable lesson plans for a week, as well as explanations for the activities (for whole group, small group, and center time), book suggestions, and related printables.
Get your pirate lesson plans here
Also available on Teachers Pay Teachers
Originally published July 2013. Updated to add more pictures and a video.


